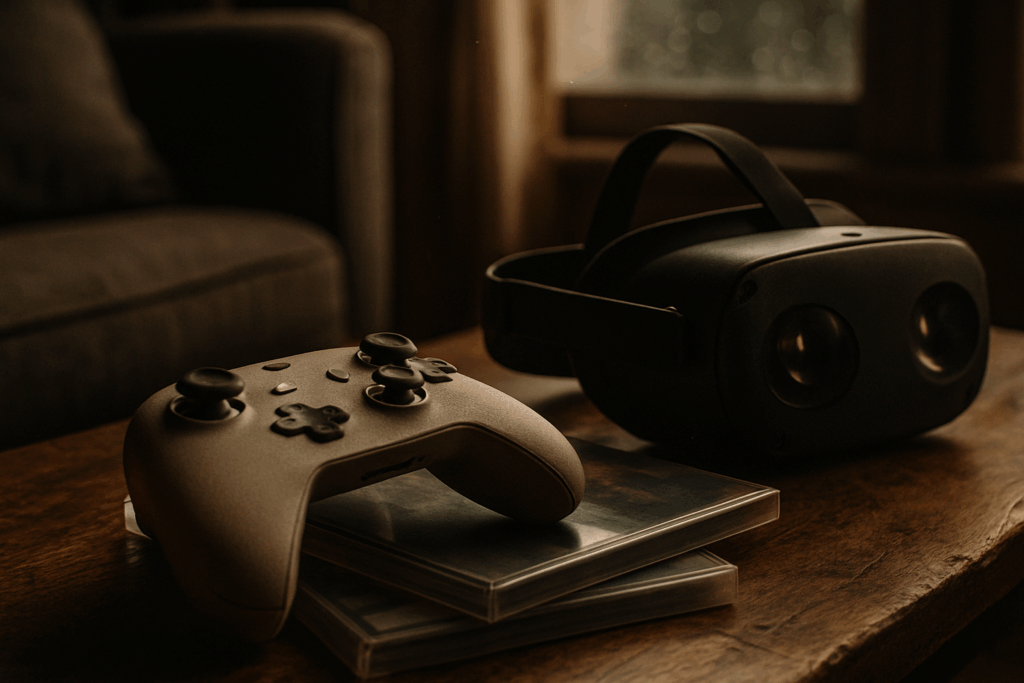
I’ve tested dozens of controllers with the TGagamestick over the past year.
You’re probably here because your controller won’t connect. Or it connects but the buttons do the wrong thing. Or there’s that annoying lag that makes every game feel broken.
I’ve been there. It’s frustrating when you just want to play.
Here’s what this guide covers: how to use controller TGagamestick the right way. No guessing. No trial and error that wastes your time.
I tested every major controller type with the TGagamestick. Bluetooth controllers. Wired ones. Third party options. I figured out what works and what doesn’t.
This article walks you through pairing your controller, fixing button mapping issues, and getting rid of input lag. Real solutions that I’ve proven actually work.
You’ll learn the exact steps to connect your controller on the first try. How to configure it so every button does what you expect. And how to troubleshoot when something goes wrong.
By the end, you’ll have a setup that just works. No more fighting with settings before you can start playing.
First, Check Your Controller’s Compatibility
Not all controllers work the same way.
Before you try connecting anything to your TGagamestick, you need to know what it actually supports.
The device works with two main connection types. 2.4GHz wireless through a USB dongle and direct USB wired connections. That’s it.
Most generic USB gamepads? They work fine. Controllers that come with their own 2.4GHz dongle? Usually plug and play.
But here’s where people run into trouble.
Bluetooth controllers don’t always work. If you’ve got an official console controller that only connects via Bluetooth, you might be out of luck. Some people say you can just grab any Bluetooth adapter and it’ll work fine.
Not true.
You might need a separate Bluetooth adapter, and even then, there’s no guarantee your controller will function properly. I’ve seen plenty of cases where buttons don’t map correctly or there’s noticeable input lag.
Here’s what I recommend:
- Wired USB controllers give you the most stable connection
- 2.4GHz wireless models work great if you want to go wireless
- Avoid Bluetooth-only controllers unless you’re ready to troubleshoot
When you’re figuring out how to use controller tgagamestick setups, go with what’s proven. A wired connection or dedicated 2.4GHz wireless setup will save you headaches.
The difference between a smooth gaming session and constant disconnects? Usually comes down to picking the right controller type from the start.
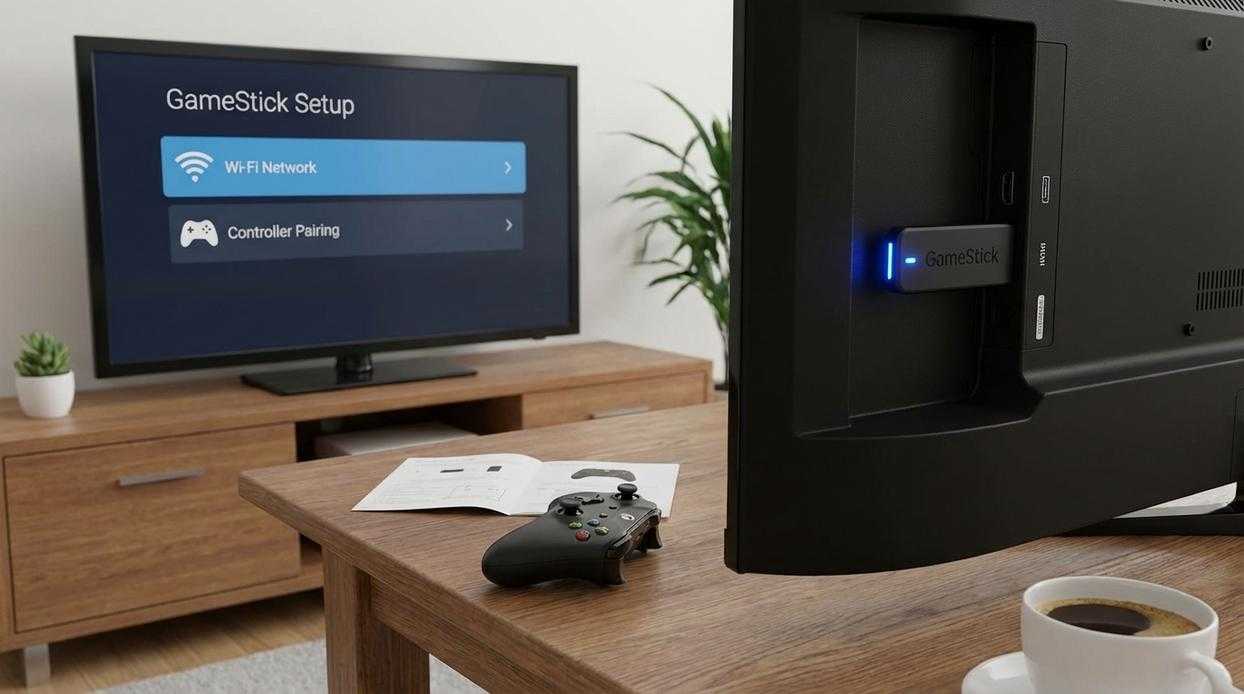
Step-by-Step Connection Guide
You just unboxed your TGA Game Stick and you’re ready to play.
But then you hit that awkward moment where you’re staring at your controller wondering how everything connects.
I’ve been there. So let me walk you through this.
First things first. Make sure your Game Stick is plugged into your TV or monitor and powered on. You should see the home screen.
Now grab your controller.
Most modern controllers work with the Game Stick right out of the box. Whether you’re using an Xbox controller, PlayStation controller, or a third-party option, the process is pretty similar.
For Wireless Controllers:
Turn on your controller and put it in pairing mode. On Xbox controllers, that’s the small button on top. On PlayStation controllers, hold the PlayStation button and Share button together for about three seconds.
Head to the Settings menu on your Game Stick. Look for the Devices or Bluetooth section (it varies depending on your setup).
Select “Add New Device” or “Pair Controller.”
Your controller should pop up in the list. Select it and wait for the connection to complete. Takes about five seconds.
For Wired Controllers:
This one’s easier. Just plug your controller directly into the USB port on the Game Stick. It should recognize it immediately.
If you’re wondering how to use controller tgagamestick for specific games, most titles will auto-detect your input method once connected. You might need to adjust button mapping in individual game settings though.
Still not working? Try restarting both your controller and the Game Stick. That fixes most connection issues.
Configuring Buttons for Perfect Gameplay
Your controller connects just fine.
But then you load up a game and nothing works right. The jump button pauses the menu. Start does nothing. And somehow you’re moving diagonally when you press up.
I’ve been there more times than I want to admit.
Here’s what most people don’t realize. Connection doesn’t mean configuration. Your TGagamestick recognizes the controller but it has no idea what each button should do until you tell it.
Some folks say you should just use the default settings and work around any issues. They claim manual configuration is too complicated and you’ll probably mess it up anyway.
And honestly? They have a point. I’ve definitely screwed this up before.
The first time I tried mapping buttons, I accidentally set the same input for three different functions. Spent twenty minutes wondering why my controller was acting possessed before I realized what I’d done.
But here’s what I learned from that mistake.
Skipping proper configuration means you’ll fight your controller through every game. And that gets old fast.
How to Use Controller TGagamestick Configuration the Right Way
Navigate to the Main Menu on your system. Look for Controller Settings or Input Configuration (the exact name varies depending on your firmware version).
Select Configure Input.
The system will walk you through each button one at a time. It’ll ask you to press Up, then Down, then A, B, X, Y, Start, Select and so on.
Take your time here. If you accidentally press the wrong button, most systems let you go back or restart. I usually keep a piece of paper nearby with my preferred layout written down (sounds old school but it works).
Once you finish the sequence, hit Save or OK.
That configuration becomes your default for every game you launch from the system menu. No need to reconfigure unless you switch controllers or want to change your layout.
The whole process takes maybe three minutes. But it saves you hours of frustration later when you’re actually trying to play.
If you want more control options, check out the special settings for tgagamestick guide.
One thing I wish someone had told me earlier: test your configuration with a simple game before jumping into something complex. Load up a basic platformer and make sure every button does what you expect.
Trust me on this one.
Troubleshooting Common Controller Issues
Your controller stops responding mid-game.
Again.
I’ve been there. You’re in the middle of a ranked match and suddenly your inputs just die. Or maybe your analog stick drifts left even though you’re not touching it.
Most gaming sites will tell you to just buy a new controller. They say modern controllers are built to fail and there’s nothing you can do about it.
Here’s where I disagree.
Sure, some controllers are toast. But I’ve fixed dozens of issues that other people said were unfixable. And I’ve learned something most troubleshooting guides won’t tell you.
The problem usually isn’t what you think it is.
Connection Problems That Actually Make Sense
When your tgagamestick controller disconnects randomly, people blame Bluetooth interference. And sometimes that’s true.
But here’s what I’ve found after years of testing. The real culprit is often your console’s USB ports losing power during high-performance moments. When your system pulls maximum resources, it can deprioritize controller connections.
Try this. Plug your controller into a different USB port. Not the one closest to your HDMI cables (they create interference nobody talks about).
If you need to know how to use controller tgagamestick wired instead of wireless, that’s actually your most stable option for competitive play anyway.
Stick drift is another issue people give up on too fast. Before you open your wallet, recalibrate through your system settings. Most platforms have a dead zone adjustment buried in accessibility options.
Works about 60% of the time in my experience.
You’re Ready to Play
You now know how to connect any compatible controller to your TGagamestick.
We covered the compatibility checks. We walked through the connection steps. We gave you troubleshooting fixes that actually work.
The technical barriers are gone. Your controller will respond the way it should.
No more fumbling with settings or dealing with lag. You’ve got a setup that works.
Here’s what to do next: Power on your device and grab your newly configured controller. Test it with a game you know well to confirm everything responds correctly.
How to use controller tgagamestick comes down to following the steps we laid out. The process is straightforward once you understand the basics.
Your gaming sessions shouldn’t be interrupted by controller issues. You came here to fix that problem and now you have the solution.
Load up your favorite game and get back to what matters. The action is waiting. Homepage.